How to Breed Your Own Isopods: Part 1 – The Tye-Dyed Iguana
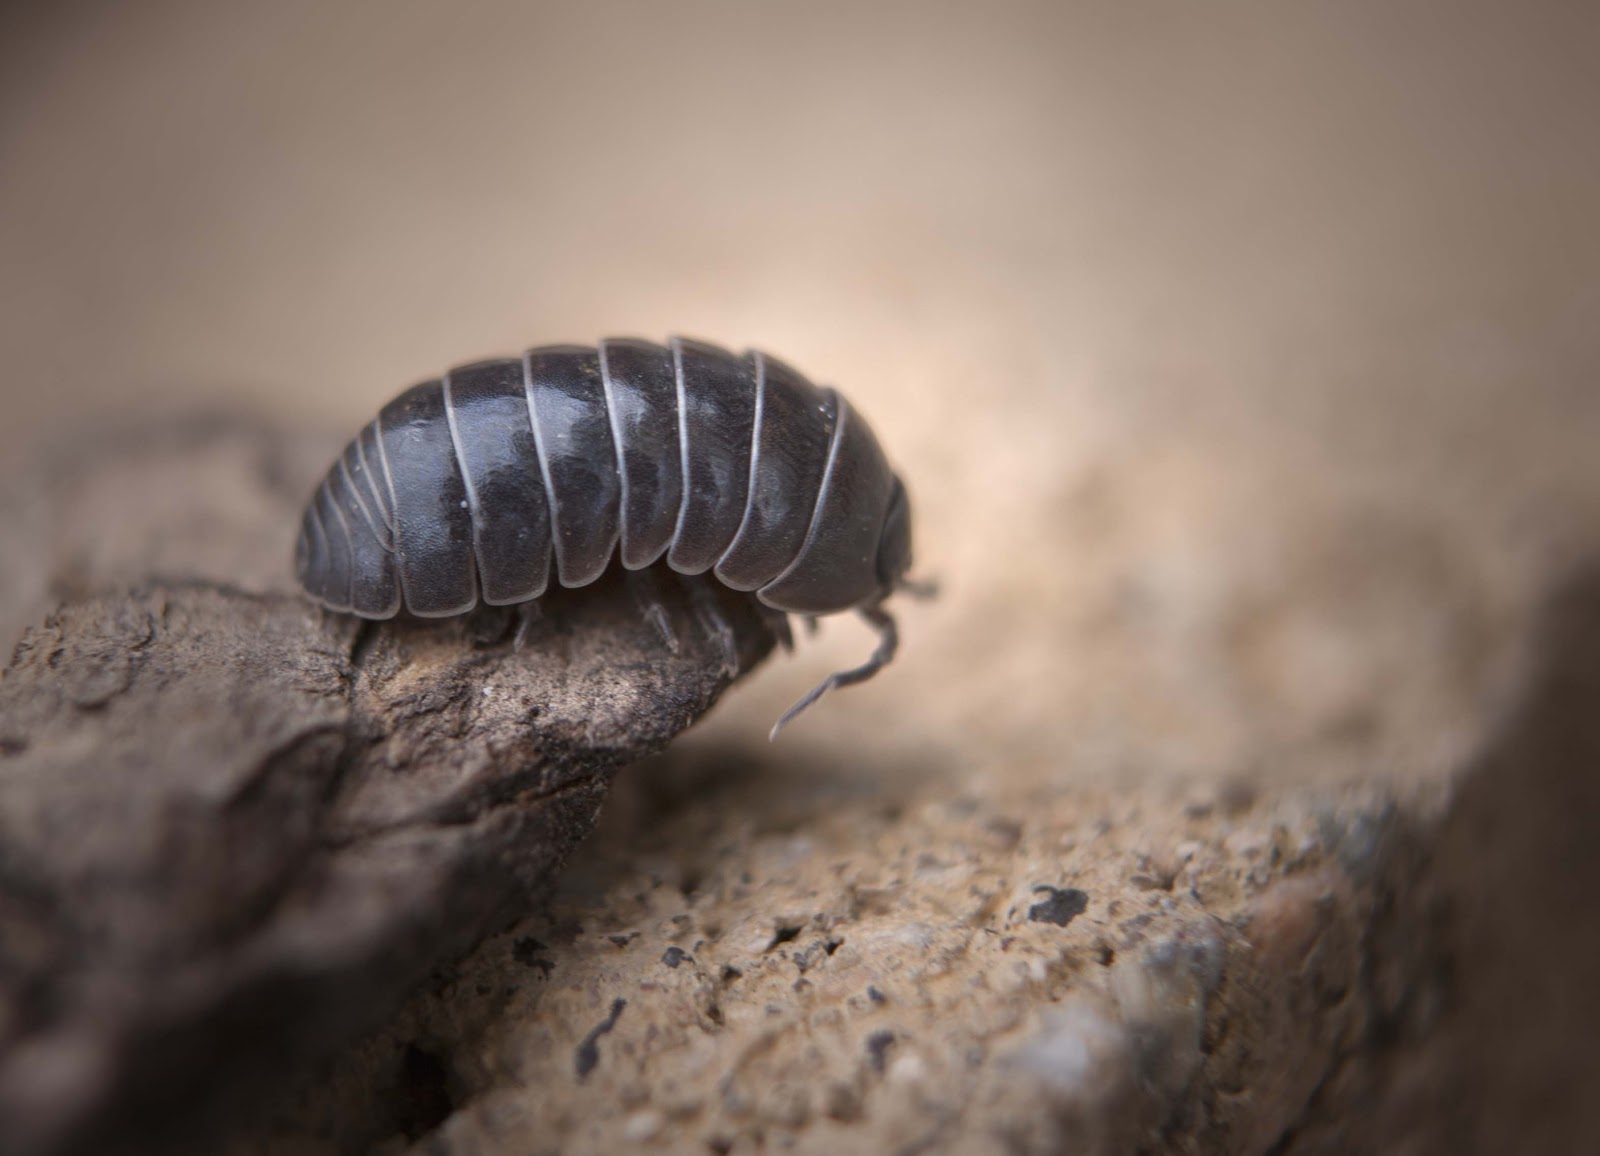
If youâve read our article on getting a few tiny janitors for your bioactive terrarium, you may be wondering what you can do to keep a steady supply of isopods around. Weâve got you covered.
Take a look at how you can set up your own breeding habitat for isopodsâ¦
Prepare breeding area
Now, a typical terrarium is not the best or most cost-effective solution for an isopod breeding area. But you canât just lock them in a box because they do have certain living conditions that need to be met for successful breeding.
For instance, they are going to need some source of airflow. So here is an inexpensive solution for creating a breeding area that keeps the critters in while allowing air to pass through. Youâll need:
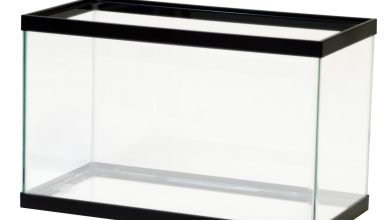
A locking plastic tub.
A tub of about 19-quarts size works well. You can also make multiple tubs if youâre going to have several groups of breeding isopods, whether itâs different species or you just plan for a large quantity.
You donât have to get the kind with the locking top, but it definitely helps prevent runaway isos, as well as maintaining humidity levels, which is important to these invertebrates.
Soldering iron or a drill.
Now, what youâre going to do is create three rows of five holes on each of the tubâs short ends. Donât put the air holes on the top because that does not create the appropriate level of airflow in the habitat.
You can do this by melting through the plastic with a soldering iron, or you can simply drill through. Youâll want to position the holes high enough that they are above the level of the substrate youâll be putting in the tub. Be sure to keep the area well-ventilated when you are melting plastic.
Photo from Daniel Carter
The holes should be roughly one-half inch in diameter.
But isnât that big enough for isopods to escape through? Very observant of you. Thatâs why we need the next itemsâ¦
Fine mesh and a hot glue gun.
Photo from Daniel Carter
You guessed it. All you have to do is cover those holes from the inside with fine wire mesh. Attach a square of mesh with a hot glue gun over each set of holes. Air gets in. No isos get out.
Gather and prepare substrate materials
Once the tub is ready, hereâs what you put inside:
Organic potting soil or substrate mix.
Put a loose layer of soil in the bottom of the tub–about two inches. This is the first layer. You donât want to pack it densely because that makes it difficult for isos to burrow in.
Leaf litter.
Put a layer of leaves over the soil, and then rake it through the soil to mix it. Of course, do not collect any materials from areas that are treated with pesticides. These are DANGEROUS to your isopods.
Sphagnum moss.
You can buy this terrarium moss at your local herp shop. Rehydrate the moss with dechlorinatedwater before adding it to the tub, enough to allow it expand without being soaking wet. Mix this through the rest of the substrate mixture, as well.
You can also put a little moss on top of the soil.
Palm bark or cork bark.
Next, bury some palm or cork bark in the substrate, and put a few pieces on top. These provide them with places to hide both on the surface and under the substrate mix.
Finally, use a spray bottle to add more dechlorinated water to the environment. Spray different areas in different amounts, creating moisture gradients so the isos can choose which moisture level they prefer to be in.
Photo from Daniel Carter
Now your isopod breeding habitat is ready. Keep watching our blog for How to Breed Your Own Isopods: Part 2 (adding the isos).
This method is courtesy of Daniel Carterâs video, âHOW TO CARE FOR ISOPODS! – Setting Up BREEDING COLONIES of SIX Easy Roly-Poly Species.â
